A patio usually looks simple when it is finished. Clean lines, tight joints, level surfaces, and a polished outdoor living space can make the whole backyard feel upgraded. What most homeowners do not see is that step by step patio paver installation depends far more on what happens below the surface than on the pavers themselves.
In the Tampa Bay area, that matters even more. Heat, heavy rain, shifting soil, and regular outdoor use put pressure on every patio. A good-looking result is only part of the job. The patio also needs proper grading, drainage, compaction, and edge restraint so it stays stable over time instead of settling, spreading, or holding water.
Why proper patio installation matters
A patio is not just a decorative surface. It is a structural system made of layers that all work together. If excavation is too shallow, the patio may shift. If the base is not compacted correctly, pavers can sink or loosen. If the slope is off, water can move toward the house instead of away from it.
That is why experienced installers focus on performance first and appearance second, even though both matter. The finished patio should complement the home, but it also has to handle Florida weather and daily foot traffic without becoming uneven or unsafe.
Step by step patio paver installation from the ground up
1. Planning the layout and measuring the space
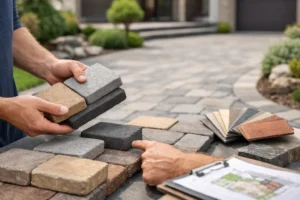
Every successful patio starts with a clear plan. The size, shape, pattern, border style, and intended use all affect the installation approach. A small sitting area for two chairs needs different dimensions and load expectations than a larger patio designed for dining, grilling, and frequent entertaining.
This is also the stage where drainage and elevation are reviewed. The patio should work with the property, not against it. Existing grades, nearby structures, roof runoff, and surrounding walkways all influence the final layout. A design may look great on paper, but if it creates water problems, it is not a good design.
2. Marking the patio footprint
Once the layout is finalized, the area is marked with stakes, string lines, paint, or other reference points. This establishes the patio boundaries and helps guide excavation depth and finished elevation.
Accuracy here prevents larger issues later. A patio that is slightly out of square, too close to a foundation, or set at the wrong height can create expensive corrections once the base and pavers are already in place.
3. Excavating to the proper depth
Excavation removes grass, roots, loose soil, and organic material that should never sit under a paver patio. The depth depends on the paver thickness, bedding layer, and compacted base required for the site conditions.
This is one of the most important parts of the process. Cutting corners during excavation often leads to patios that move, dip, or fail early. In Florida, where rain can expose weak spots quickly, adequate excavation is not optional.
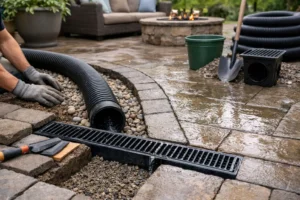
4. Grading for drainage
Before the base goes in, the subgrade needs to be shaped correctly. A patio should have a slight slope to direct water away from the home and prevent standing water on the surface.
This is where experience really shows. Too little slope can leave puddles. Too much slope can feel awkward underfoot and affect furniture placement. The goal is a patio that drains well without looking or feeling uneven.
5. Installing and compacting the base material
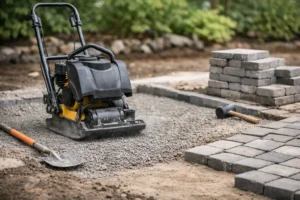
A strong paver patio relies on a compacted aggregate base. This layer provides structural support and helps distribute weight evenly across the surface. It is typically installed in lifts, with each layer compacted before the next is added.
This is not the glamorous part of the job, but it is the part that protects the investment. A patio may look finished in a day, yet long-term performance comes from patient base preparation. When the base is rushed or uneven, the pavers above it usually tell the story later.
6. Adding a bedding layer
Once the compacted base is set to grade, a bedding layer is placed and screeded smooth. This creates a consistent setting bed for the pavers and helps achieve a uniform final surface.
The bedding layer is not there to fix base mistakes. It is a finishing layer, not a substitute for proper preparation. If the base below is uneven, the patio surface will eventually reflect those problems.
Installing the pavers with precision
7. Laying the pavers in the chosen pattern
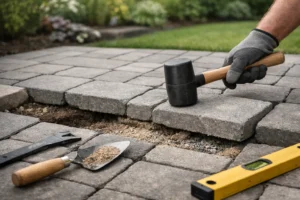
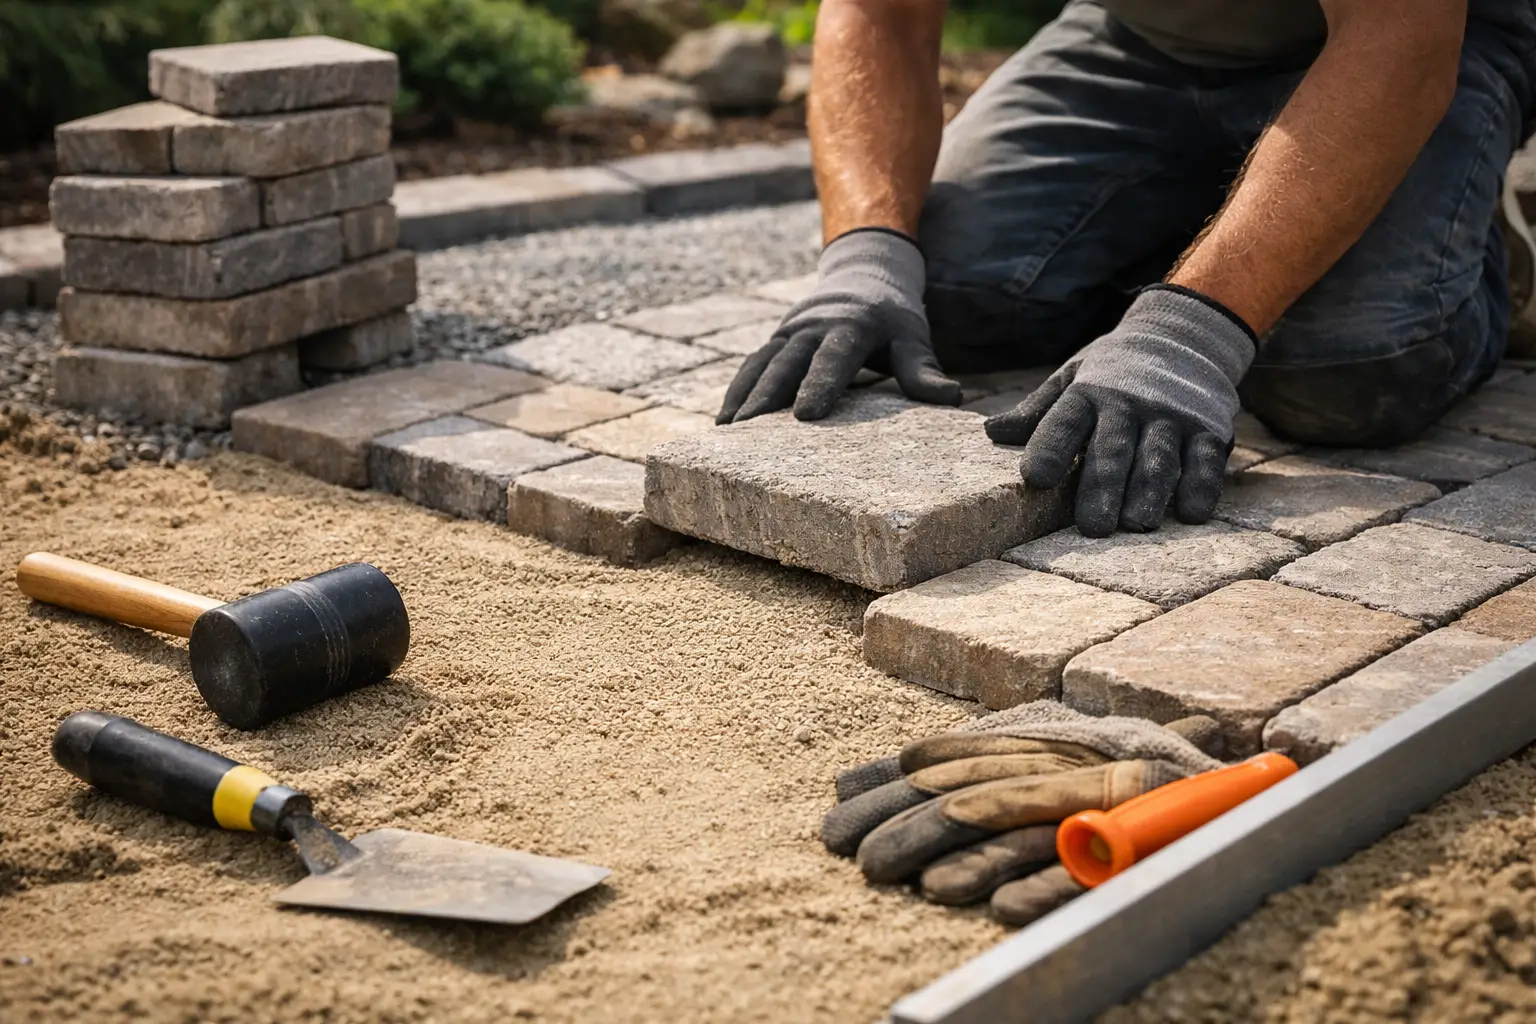
Pavers are placed carefully according to the selected pattern, whether that is running bond, herringbone, basket weave, or a modular layout. Consistent joint spacing, straight alignment, and clean transitions matter here.
A quality installation balances speed with precision. The pattern needs to stay true across the entire patio, especially around edges, curves, and borders. Small alignment errors can spread across the surface and become more visible as the job progresses.
8. Cutting pavers for edges and details
Most patios require custom cuts along borders, curves, columns, steps, or adjoining hardscape features. Clean cuts are one of the details that separate a professional-looking patio from one that feels pieced together.
This step also affects durability. Poor cuts or weak edge pieces can loosen over time, especially in high-traffic areas. The finished patio should look intentional from every angle, not just from a distance.
9. Installing edge restraints
Edge restraints hold the field of pavers in place and help prevent lateral movement over time. Without solid edge support, even a well-laid patio can begin to spread at the perimeter.
This is another step homeowners often underestimate. A patio is only as stable as its edges. Strong restraints help preserve joint integrity, maintain the pattern, and protect the shape of the installation through regular use and weather cycles.
Finishing the patio so it stays locked in
10. Compacting the paver surface
After the pavers are laid and edge restraints are installed, the surface is compacted. This helps seat the pavers into the bedding layer and create a more unified system.
Proper compaction improves stability, but it needs to be done correctly with the right equipment and care. The goal is to secure the patio without damaging the surface or disrupting the pattern.
11. Sweeping in joint material
Joint material is worked into the spaces between the pavers to help lock them together and reduce movement. Depending on the installation and site needs, different jointing products may be used.
The choice here can affect maintenance and performance. Some materials resist washout and weed intrusion better than others, but conditions matter. The right selection depends on the patio design, exposure, and expected use.
12. Final cleanup and inspection
The last step is not just cleanup. It is a full review of alignment, level, cuts, transitions, drainage flow, and overall finish quality. A professional crew leaves the site clean and makes sure the patio is ready for use.
This stage gives homeowners confidence that the work was completed with care. The difference is easy to spot – surfaces are even, edges are crisp, debris is gone, and the patio feels complete rather than simply finished.
Where patio paver projects often go wrong
Most patio failures trace back to a few common issues. Poor excavation, weak base compaction, lack of drainage planning, and missing edge restraints cause more problems than the pavers themselves.
There is also the question of material choice. Not every paver is right for every property. Some homeowners prioritize color and shape first, while others focus on texture, slip resistance, or a more contemporary look. The best result usually comes from balancing appearance with performance, especially in outdoor spaces exposed to Florida sun and rain.
DIY installation can work for very small projects, but larger patios require accurate grading, compaction equipment, and a clear understanding of how each layer performs. If one step is off, the surface may still look good on day one. The test comes after the first storm season.
What homeowners in Tampa Bay should expect
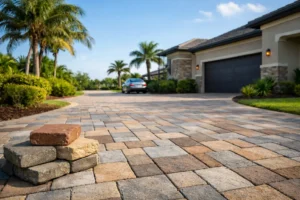
In this region, patio installation is about more than curb appeal. It is about creating an outdoor space that fits the home and holds up through real conditions. Soil behavior, drainage patterns, and stormwater movement all need to be considered before the first paver is placed.
That is why a professional process matters. A reliable installer should explain the layout, discuss drainage, prepare the base correctly, maintain clean work habits, and deliver a patio that looks sharp and performs well. At Top Pavers, that attention to craftsmanship is what turns a backyard upgrade into a lasting improvement.
If you are planning a new patio, focus on the installation method as much as the paver style. The color and pattern catch your eye first, but the groundwork is what makes the space worth enjoying for years.